记录Hexo博客的搭建过程。包括Hexo的书写技巧与主题优化。
Hexo书写技巧
数学公式
Hexo引入数学公式
Hexo默认不支持数学公式,需要引入数学公式的响应环境。
更换Hexo的markdown渲染引擎
卸载原有的渲染器
hexo-renderer-marked,安装渲染器hexo-renderer-kramed1
2npm uninstall hexo-renderer-marked
npm install hexo-renderer-kramed在next主题中开启mathJax开关
在
next/_config.yml中将mathjax的enable打开。/themes/next/_config.yml 1
2
3
4
5
6
7# per_page为true,则需要每页自己添加`mathjax: true`;
# per_page为false,则每页自动允许数学公式
per_page: false
engine: mathjax
mathjax:
enable: true
mhchem: true
如此即可在每片文章中自动允许数学公式。
数学公式书写规则
Hexo的markdown数学公式书写规则与Latex相同,具体规则见 Latex入门/数学公式
流程图
Hexo引入flowchart流程图
Hexo默认不支持markdown的流程图,需安装hexo-filter-flowchart插件。
- 安装hexo-filter-flowchart插件
1
npm install --save hexo-filter-flowchart
在主题配置文件下添加flowchart配置
/themes/next/_config.yml 1
2
3
4flowchart:
# raphael: # optional, the source url of raphael.js
# flowchart: # optional, the source url of flowchart.js
options: # options used for `drawSVG`绘制流程图
范例:下列代码包在flow之间
1
<div id="flowchart-0" class="flow-chart"></div>
流程图绘制规则
流程图语法分为两个部分:
- 前半部分:定义流程图元素
- 后半部分:连接流程图元素
前半部分定义元素的语法
1 | tag=>type: content:>url |
tag:元素标签,连接元素时用来代表元素。名称可以任意,一般为流程的英文缩写和数字的组合。type:元素类型,一共有6种类型,分别为start、end、operation、subroutine、condition、inputoutputcontent:文本框中的内容,注意type:和content间一定要有空格url:文本绑定的链接,点击可跳转
后半部分连接流程图元素
- 用
->来连接两个元素 condition类型有yes和no两个分支,如cond(yes)和cond(no)- 每个元素可以制定分支走向,默认向下,也可以用right指向右边,如
sub1(right)
示例
1 | <div id="flowchart-2" class="flow-chart"></div> |
Hexo引入Mermaid流程图
- 安装hexo-filter-mermaid-diagrams插件
1
npm install --save hexo-filter-mermaid-diagrams
在主题配置文件下添加mermaid配置
/themes/next/_config.yml 1
2
3
4
5# Mermaid tag
mermaid:
enable: true
# Available themes: default | dark | forest | neutral
theme: forest
代码块
markdown的代码块写法有两种——```...``` 和{ % ... % },这里主要使用```...``` 来实现功能。
格式
写法一
1 | ```[language] [title] [url] [link text] |
- language: 语言名称,引导渲染引擎正确解析并高亮显示关键字
- title: 代码块标题,将会显示在左上角
- url: 链接地址,如果没有指定 link text 则会在右上角显示 link
- link text: 链接名称,指定 url 后有效,将会显示在右上角
url 必须为有效链接地址才会以链接的形式显示在右上角,否则将作为标题显示在左上角。以 url 为分界,左侧除了第一个单词会被解析为 language,其他所有单词都会被解析为 title,而右侧的所有单词都会被解析为 link text。
如果不想填写 title,可以在 language 和 url 之间添加至少三个空格。
示例
1
2
3
4
5
6
7
8```C HelloWorld https://gy23333.github.io/2020/02/25/Hexo搭建记录/ 下载地址
#include <stdio.h>
int main(){
printf("hello world\n");
return 0;
}
```效果
HelloWorld下载地址 1
2
3
4
5
6
int main(){
printf("hello world\n");
return 0;
}
写法二
1 | {% codeblock [title] [lang:language] [url] [link text] [additional options] %} |
设置语言
格式
1
2
3{% codeblock [lang:language] %}
code snippet
{% endcodeblock %}示例
1
2
3
4
5
6
7
8{% codeblock lang:C %}
#include <stdio.h>
int main(){
printf("hello world\n");
return 0;
}
{% endcodeblock %}效果
1
2
3
4
5
6
int main(){
printf("hello world\n");
return 0;
}
设置标题
格式
1
2
3{% codeblock [title] %}
code snippet
{% endcodeblock %}示例
1
2
3
4
5
6
7
8{% codeblock HelloWorld %}
#include <stdio.h>
int main(){
printf("hello world\n");
return 0;
}
{% endcodeblock %}效果
HelloWorld 1
2
3
4
5
6#include <stdio.h>
int main(){
printf("hello world\n");
return 0;
}
设置链接
格式
1
2
3{% codeblock [url] [link text] %}
code snippet
{% endcodeblock %}示例
1
2
3
4
5
6
7
8{% codeblock HelloWorld lang:C https://gy23333.github.io/2020/02/25/Hexo搭建记录/ 下载地址 %}
#include <stdio.h>
int main(){
printf("hello world\n");
return 0;
}
{% endcodeblock %}效果
HelloWorld下载地址 1
2
3
4
5
6
int main(){
printf("hello world\n");
return 0;
}
是否显示行号
格式
1
2
3{% codeblock [line_number:(true|false)] %}
code snippet
{% endcodeblock %}line_number的默认值为true。示例
1
2
3
4
5
6
7
8{% codeblock lang:C line_number:false %}
#include <stdio.h>

int main(){
    printf("hello world\n");
    return 0;
}
{% endcodeblock %}效果
int main(){
printf("hello world\n");
return 0;
}
设置起始行号
格式
1
2
3
{% codeblock [first_line:number] %}
code snippet
{% endcodeblock %}first_line的默认值为1。示例
1
2
3
4
5
6
7
8{% codeblock lang:C first_line:10 %}
#include <stdio.h>
int main(){
printf("hello world\n");
return 0;
}
{% endcodeblock %}效果
10
11
12
13
14
15
int main(){
printf("hello world\n");
return 0;
}
设置代码添加删除标记
设置语言为 diff,可以在代码前添加 + 和 - 来使用如上所示的高亮增删行提示效果。
格式
1
2
3{% codeblock lang:diff %}
code snippet
{% endcodeblock %}示例
1
2
3
4
5
6
7
8
9{% codeblock lang:diff %}
#include <stdio.h>
int main(){
- printf("delete\n");
+ printf("add\n");
return 0;
}
{% endcodeblock %}效果
1
2
3
4
5
6
7
8#include <stdio.h>
int main(){
- printf("delete\n");
+ printf("add\n");
return 0;
}
Aplayer音乐播放器
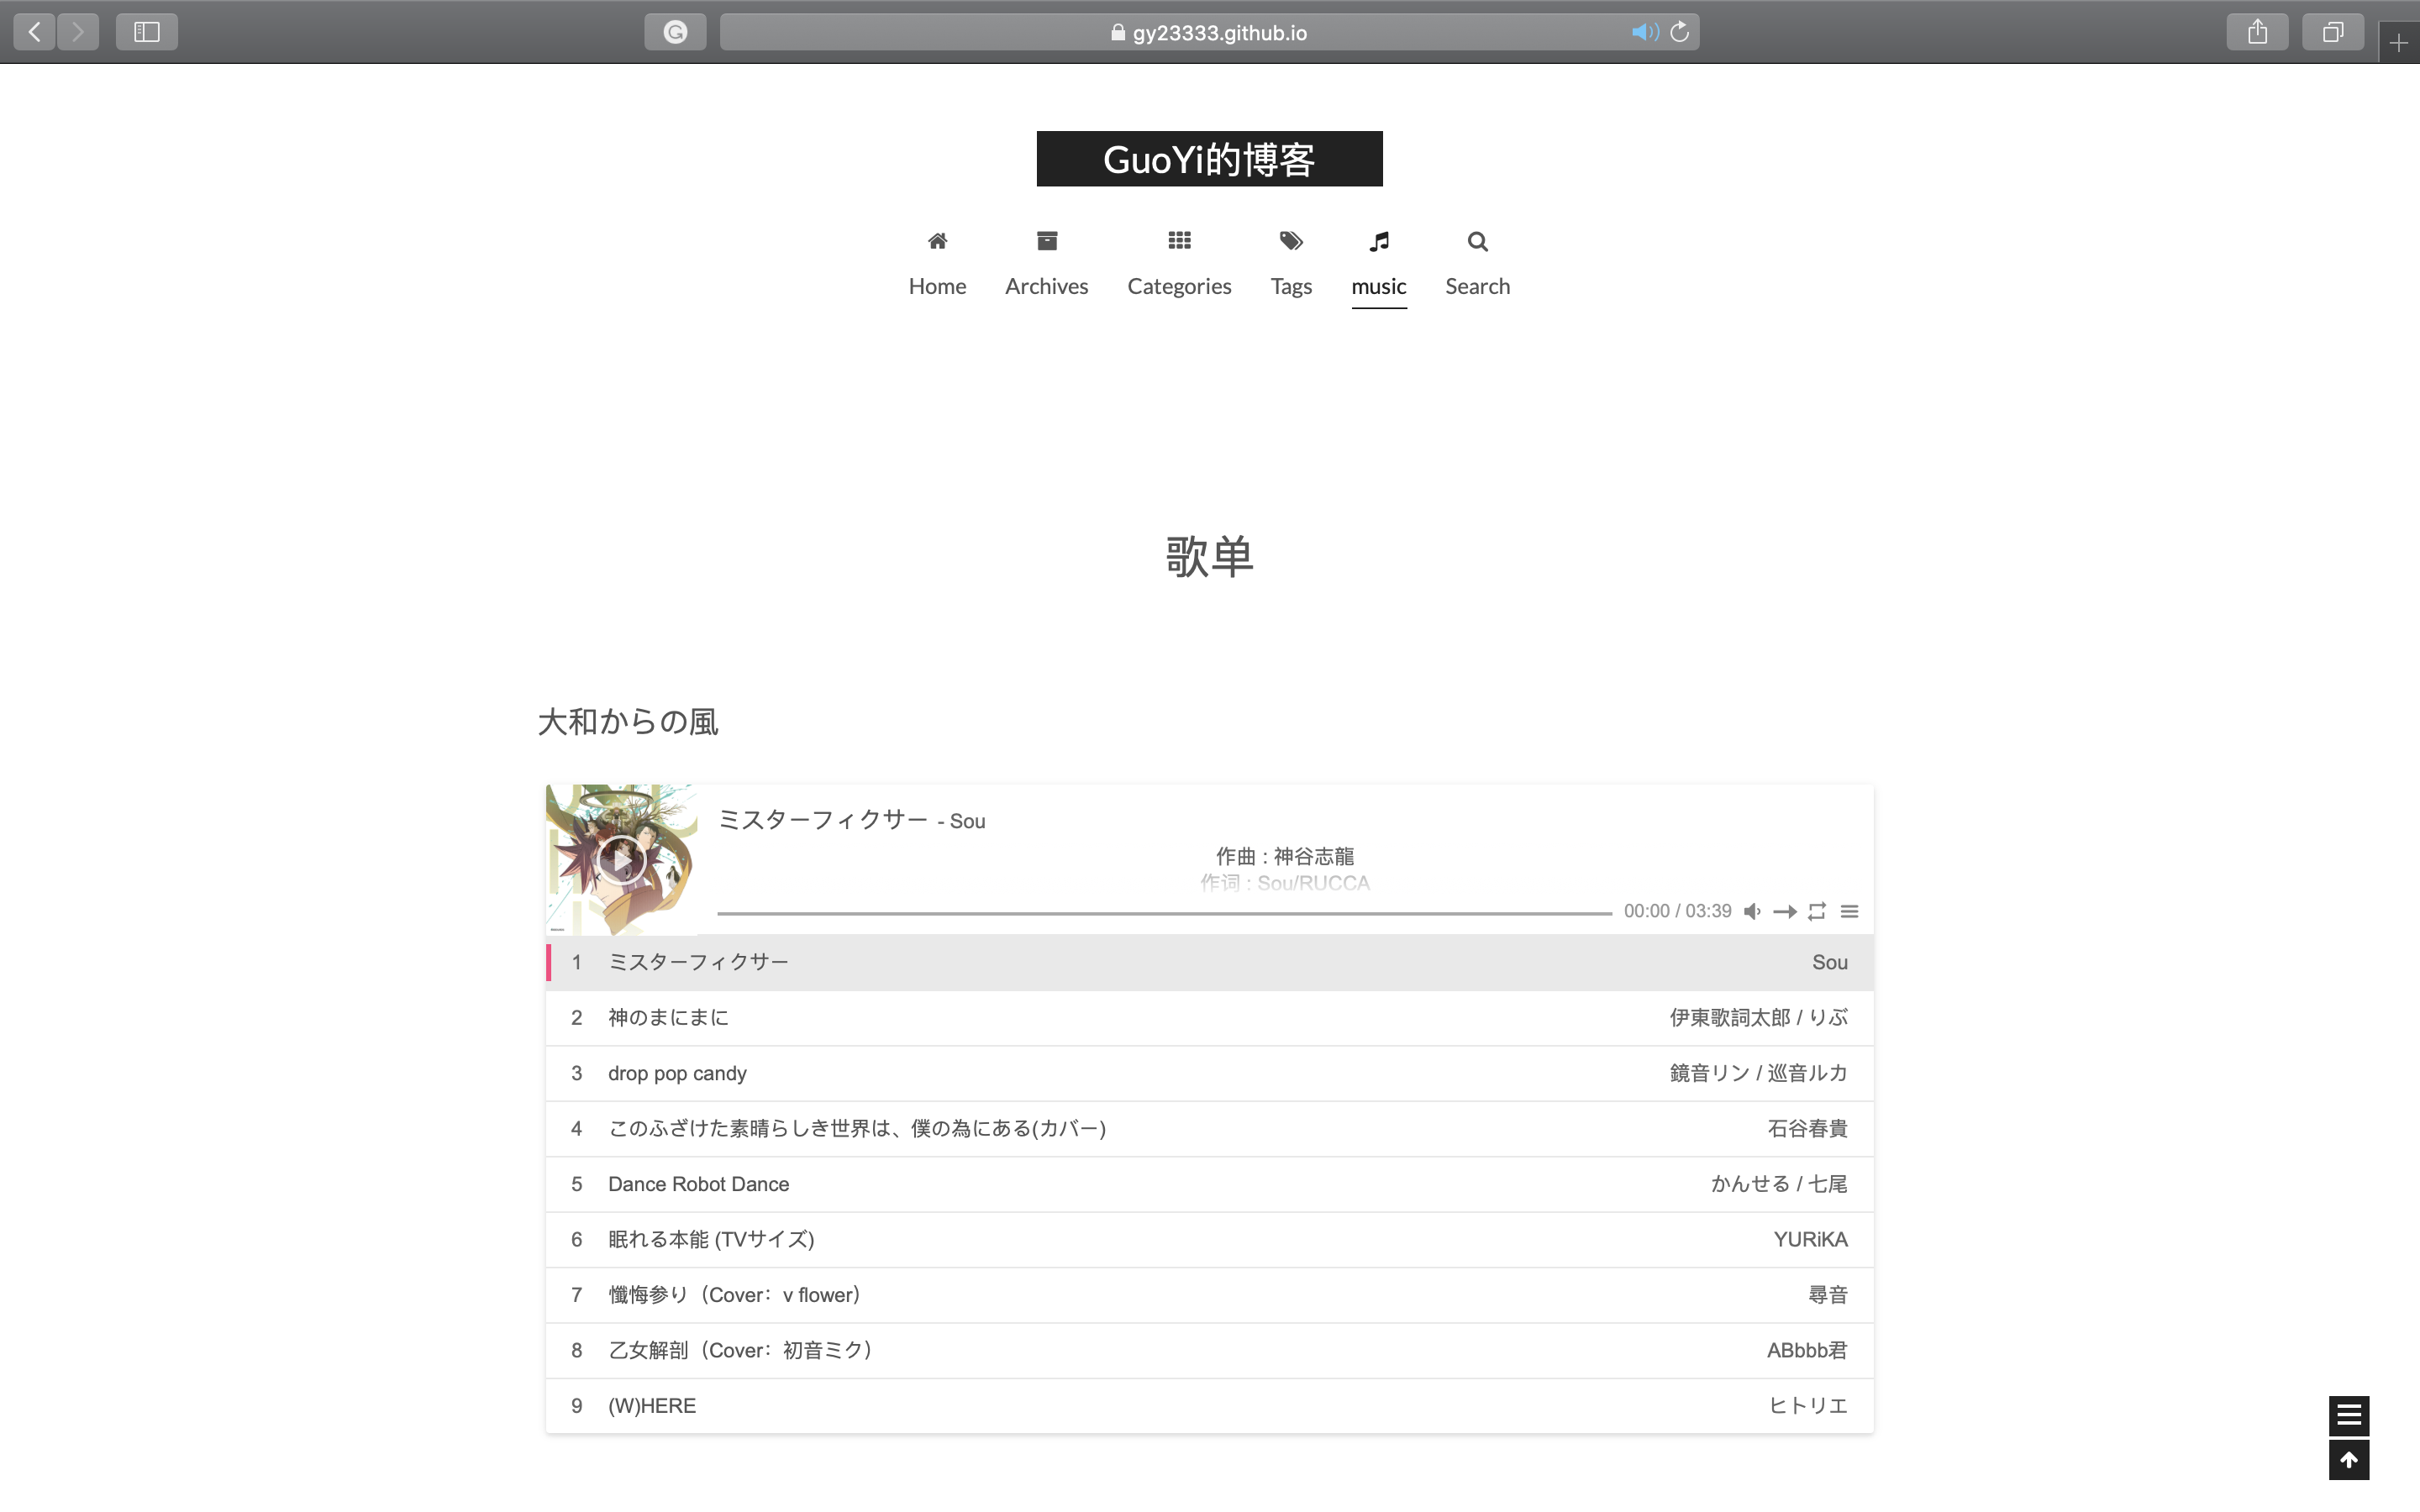
在blog中添加一个音乐播放页面 Aplayer官方中文文档
新建音乐页面
- 新建一个页面
1 | hexo new page music |
在新生成的 /source/music/index.md 中
1
2
3title: 歌单
date: 2020-02-25 19:50:11
type: "music"在主题的 _config.yml文件中,设置页面
1
2
3
4
5
6menu:
home: / || home
archives: /archives/ || archive
categories: /categories/ || th
tags: /tags/ || tags
music: /music/ || music
页面创建成功!
使用hexo-tag-aplayer插件
- 安装hexo-tag-aplayer
1 | npm install --save hexo-tag-aplayer |
MeingJS支持
MetingJS 是基于Meting API 的 APlayer 衍生播放器,引入 MetingJS 后,播放器将支持对于 QQ音乐、网易云音乐、虾米、酷狗、百度等平台的音乐播放。
如果想在本插件中使用 MetingJS,请在 Hexo 配置文件
_config.yml中设置:1
2aplayer:
meting: true使用 MetingJS 播放器
1
2
3
4
5<!-- 简单示例 (id, server, type) -->
{% meting "60198" "netease" "playlist" %}
<!-- 进阶示例 -->
{% meting "60198" "netease" "playlist" "autoplay" "mutex:false" "listmaxheight:340px" "preload:none" "theme:#ad7a86"%}有关选项列表如下:
| 选项 | 默认值 | 描述 |
|---|---|---|
| id | 必须值 | 歌曲 id / 播放列表 id / 相册 id / 搜索关键字 |
| server | 必须值 | 音乐平台: netease, tencent, kugou, xiami, baidu |
| type | 必须值 | song(单首歌), playlist(歌单), album, search, artist |
| fixed | false |
开启固定模式 |
| mini | false |
开启迷你模式 |
| loop | all |
列表循环模式:all, one,none |
| order | list |
列表播放模式: list, random |
| volume | 0.7 | 播放器音量 |
| lrctype | 0 | 歌词格式类型 |
| listfolded | false |
指定音乐播放列表是否折叠 |
| storagename | metingjs |
LocalStorage 中存储播放器设定的键名 |
| autoplay | true |
自动播放,移动端浏览器暂时不支持此功能 |
| mutex | true |
该选项开启时,如果同页面有其他 aplayer 播放,该播放器会暂停 |
| listmaxheight | 340px |
播放列表的最大长度 |
| preload | auto |
音乐文件预载入模式,可选项: none, metadata, auto |
| theme | #ad7a86 |
播放器风格色彩设置 |
配置结束!

手动建立歌单(不推荐)
强迫症可手动将各平台的歌单整合在一起,这里提供一个下载各平台音乐的神器。
1 | {% aplayerlist %} |
Hexo主题优化
个性化回到顶部
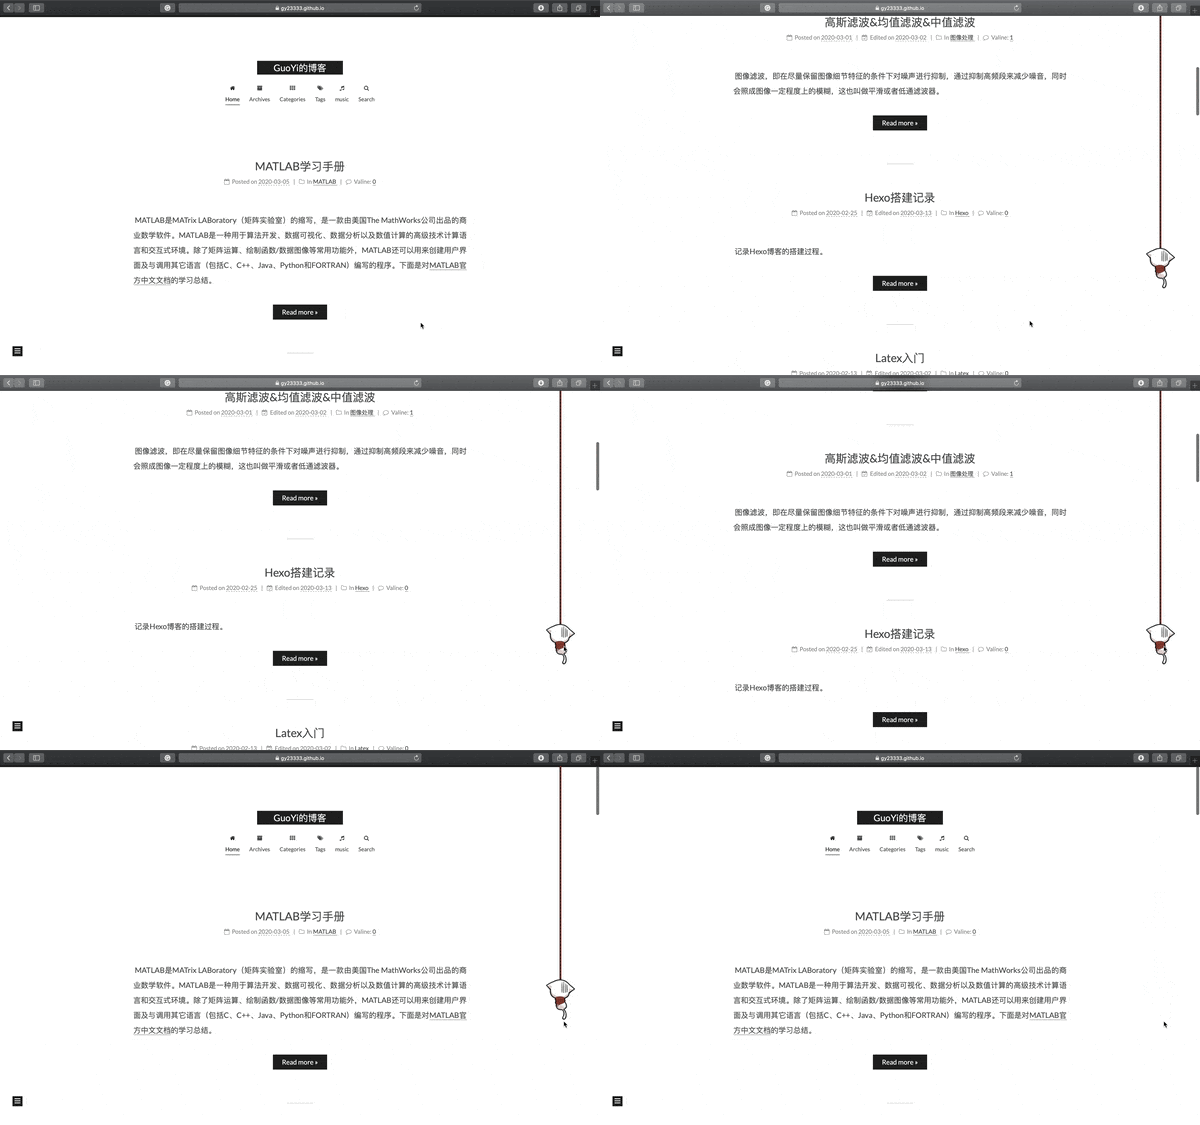
猫耳FM同款回到顶部插件。
- 下载图片,将其添加到主题页面的 source\images\ 下;
- 在 /themes/next/source/css/_common/components/back-to-top.styl 中添加
1 | //自定义回到顶部样式 |
效果图

鼠标点击效果
参考Yearito’s Blog有下面四种鼠标点击效果。在 themes\next\source\js\cursor\ 中加入下列js文件
1 | ;function updateCoords(e){pointerX=(e.clientX||e.touches[0].clientX)-canvasEl.getBoundingClientRect().left,pointerY=e.clientY||e.touches[0].clientY-canvasEl.getBoundingClientRect().top}function setParticuleDirection(e){var t=anime.random(0,360)*Math.PI/180,a=anime.random(50,180),n=[-1,1][anime.random(0,1)]*a;return{x:e.x+n*Math.cos(t),y:e.y+n*Math.sin(t)}}function createParticule(e,t){var a={};return a.x=e,a.y=t,a.color=colors[anime.random(0,colors.length-1)],a.radius=anime.random(16,32),a.endPos=setParticuleDirection(a),a.draw=function(){ctx.beginPath(),ctx.arc(a.x,a.y,a.radius,0,2*Math.PI,!0),ctx.fillStyle=a.color,ctx.fill()},a}function createCircle(e,t){var a={};return a.x=e,a.y=t,a.color="#F00",a.radius=.1,a.alpha=.5,a.lineWidth=6,a.draw=function(){ctx.globalAlpha=a.alpha,ctx.beginPath(),ctx.arc(a.x,a.y,a.radius,0,2*Math.PI,!0),ctx.lineWidth=a.lineWidth,ctx.strokeStyle=a.color,ctx.stroke(),ctx.globalAlpha=1},a}function renderParticule(e){for(var t=0;t<e.animatables.length;t++)e.animatables[t].target.draw()}function animateParticules(e,t){for(var a=createCircle(e,t),n=[],i=0;i<numberOfParticules;i++)n.push(createParticule(e,t));anime.timeline().add({targets:n,x:function(e){return e.endPos.x},y:function(e){return e.endPos.y},radius:.1,duration:anime.random(1200,1800),easing:"easeOutExpo",update:renderParticule}).add({targets:a,radius:anime.random(80,160),lineWidth:0,alpha:{value:0,easing:"linear",duration:anime.random(600,800)},duration:anime.random(1200,1800),easing:"easeOutExpo",update:renderParticule,offset:0})}function debounce(e,t){var a;return function(){var n=this,i=arguments;clearTimeout(a),a=setTimeout(function(){e.apply(n,i)},t)}}var canvasEl=document.querySelector(".fireworks");if(canvasEl){var ctx=canvasEl.getContext("2d"),numberOfParticules=30,pointerX=0,pointerY=0,tap="mousedown",colors=["#FF1461","#18FF92","#5A87FF","#FBF38C"],setCanvasSize=debounce(function(){canvasEl.width=2*window.innerWidth,canvasEl.height=2*window.innerHeight,canvasEl.style.width=window.innerWidth+"px",canvasEl.style.height=window.innerHeight+"px",canvasEl.getContext("2d").scale(2,2)},500),render=anime({duration:1/0,update:function(){ctx.clearRect(0,0,canvasEl.width,canvasEl.height)}});document.addEventListener(tap,function(e){"sidebar"!==e.target.id&&"toggle-sidebar"!==e.target.id&&"A"!==e.target.nodeName&&"IMG"!==e.target.nodeName&&(render.play(),updateCoords(e),animateParticules(pointerX,pointerY))},!1),setCanvasSize(),window.addEventListener("resize",setCanvasSize,!1)} |
1 | !function(e,t,a){function n(){c(".heart{width: 10px;height: 10px;position: fixed;background: #f00;transform: rotate(45deg);-webkit-transform: rotate(45deg);-moz-transform: rotate(45deg);}.heart:after,.heart:before{content: '';width: inherit;height: inherit;background: inherit;border-radius: 50%;-webkit-border-radius: 50%;-moz-border-radius: 50%;position: fixed;}.heart:after{top: -5px;}.heart:before{left: -5px;}"),o(),r()}function r(){for(var e=0;e<d.length;e++)d[e].alpha<=0?(t.body.removeChild(d[e].el),d.splice(e,1)):(d[e].y--,d[e].scale+=.004,d[e].alpha-=.013,d[e].el.style.cssText="left:"+d[e].x+"px;top:"+d[e].y+"px;opacity:"+d[e].alpha+";transform:scale("+d[e].scale+","+d[e].scale+") rotate(45deg);background:"+d[e].color+";z-index:99999");requestAnimationFrame(r)}function o(){var t="function"==typeof e.onclick&&e.onclick;e.onclick=function(e){t&&t(),i(e)}}function i(e){var a=t.createElement("div");a.className="heart",d.push({el:a,x:e.clientX-5,y:e.clientY-5,scale:1,alpha:1,color:s()}),t.body.appendChild(a)}function c(e){var a=t.createElement("style");a.type="text/css";try{a.appendChild(t.createTextNode(e))}catch(t){a.styleSheet.cssText=e}t.getElementsByTagName("head")[0].appendChild(a)}function s(){return"rgb("+~~(255*Math.random())+","+~~(255*Math.random())+","+~~(255*Math.random())+")"}var d=[];e.requestAnimationFrame=function(){return e.requestAnimationFrame||e.webkitRequestAnimationFrame||e.mozRequestAnimationFrame||e.oRequestAnimationFrame||e.msRequestAnimationFrame||function(e){setTimeout(e,1e3/60)}}(),n()}(window,document); |
1 | class Circle { |
1 | var a_idx = 0; |
在 themes\next\layout_custom\custom.swig 中加入
1 | {# 鼠标点击特效 #} |
如果 custom.swig 文件不存在,需要手动新建并在布局页面 themes\next\layout_layout.swig 中 body 末尾引入:
1 | {% include '_custom/custom.swig' %} |
在主题配置文件 themes\next_config.yml 中添加:
1 | # mouse click effect: fireworks | explosion | love | text |
则可通过配置主题配置文件来设置鼠标点击效果。
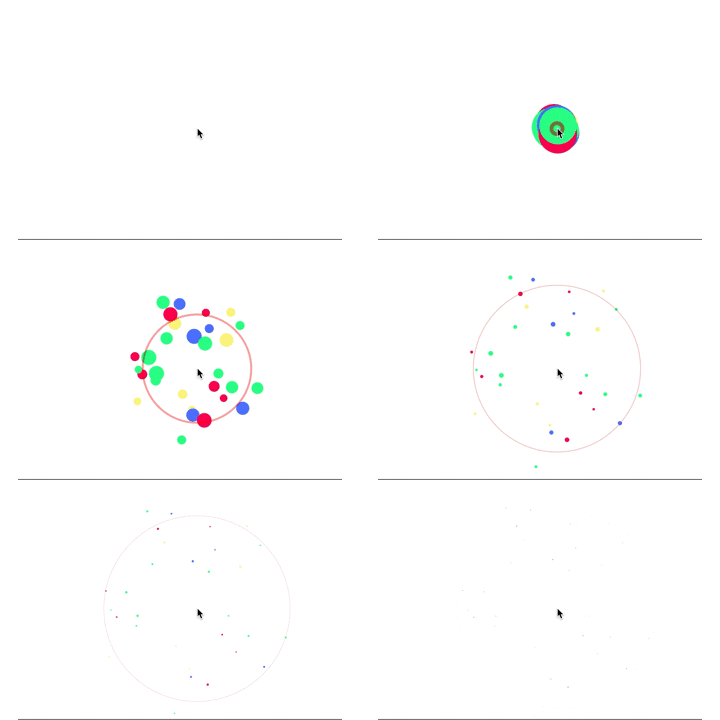
如explosion的效果

Hexo常见问题
hexo d报错
1 | fatal: Authentication failed for ‘https://github.com/gy23333/gy23333.github.io.git/‘ |
Github开启二次验证后导致博客提交错误,解决方法参考GitHub二次验证带来的问题。
生成Personal access tokens令牌码,使用该码作为密码登录。
- 登录Github
- Setttings -> Developer Settings -> Personal access tokens -> Generate new token
- 设定token的Expiration为no expiration(永久),全选scopes
- 生成token,复制记录
- hexo d,输入Github用户名和密码(token)